Tuesday, November 15, 2022
Wednesday, November 9, 2022
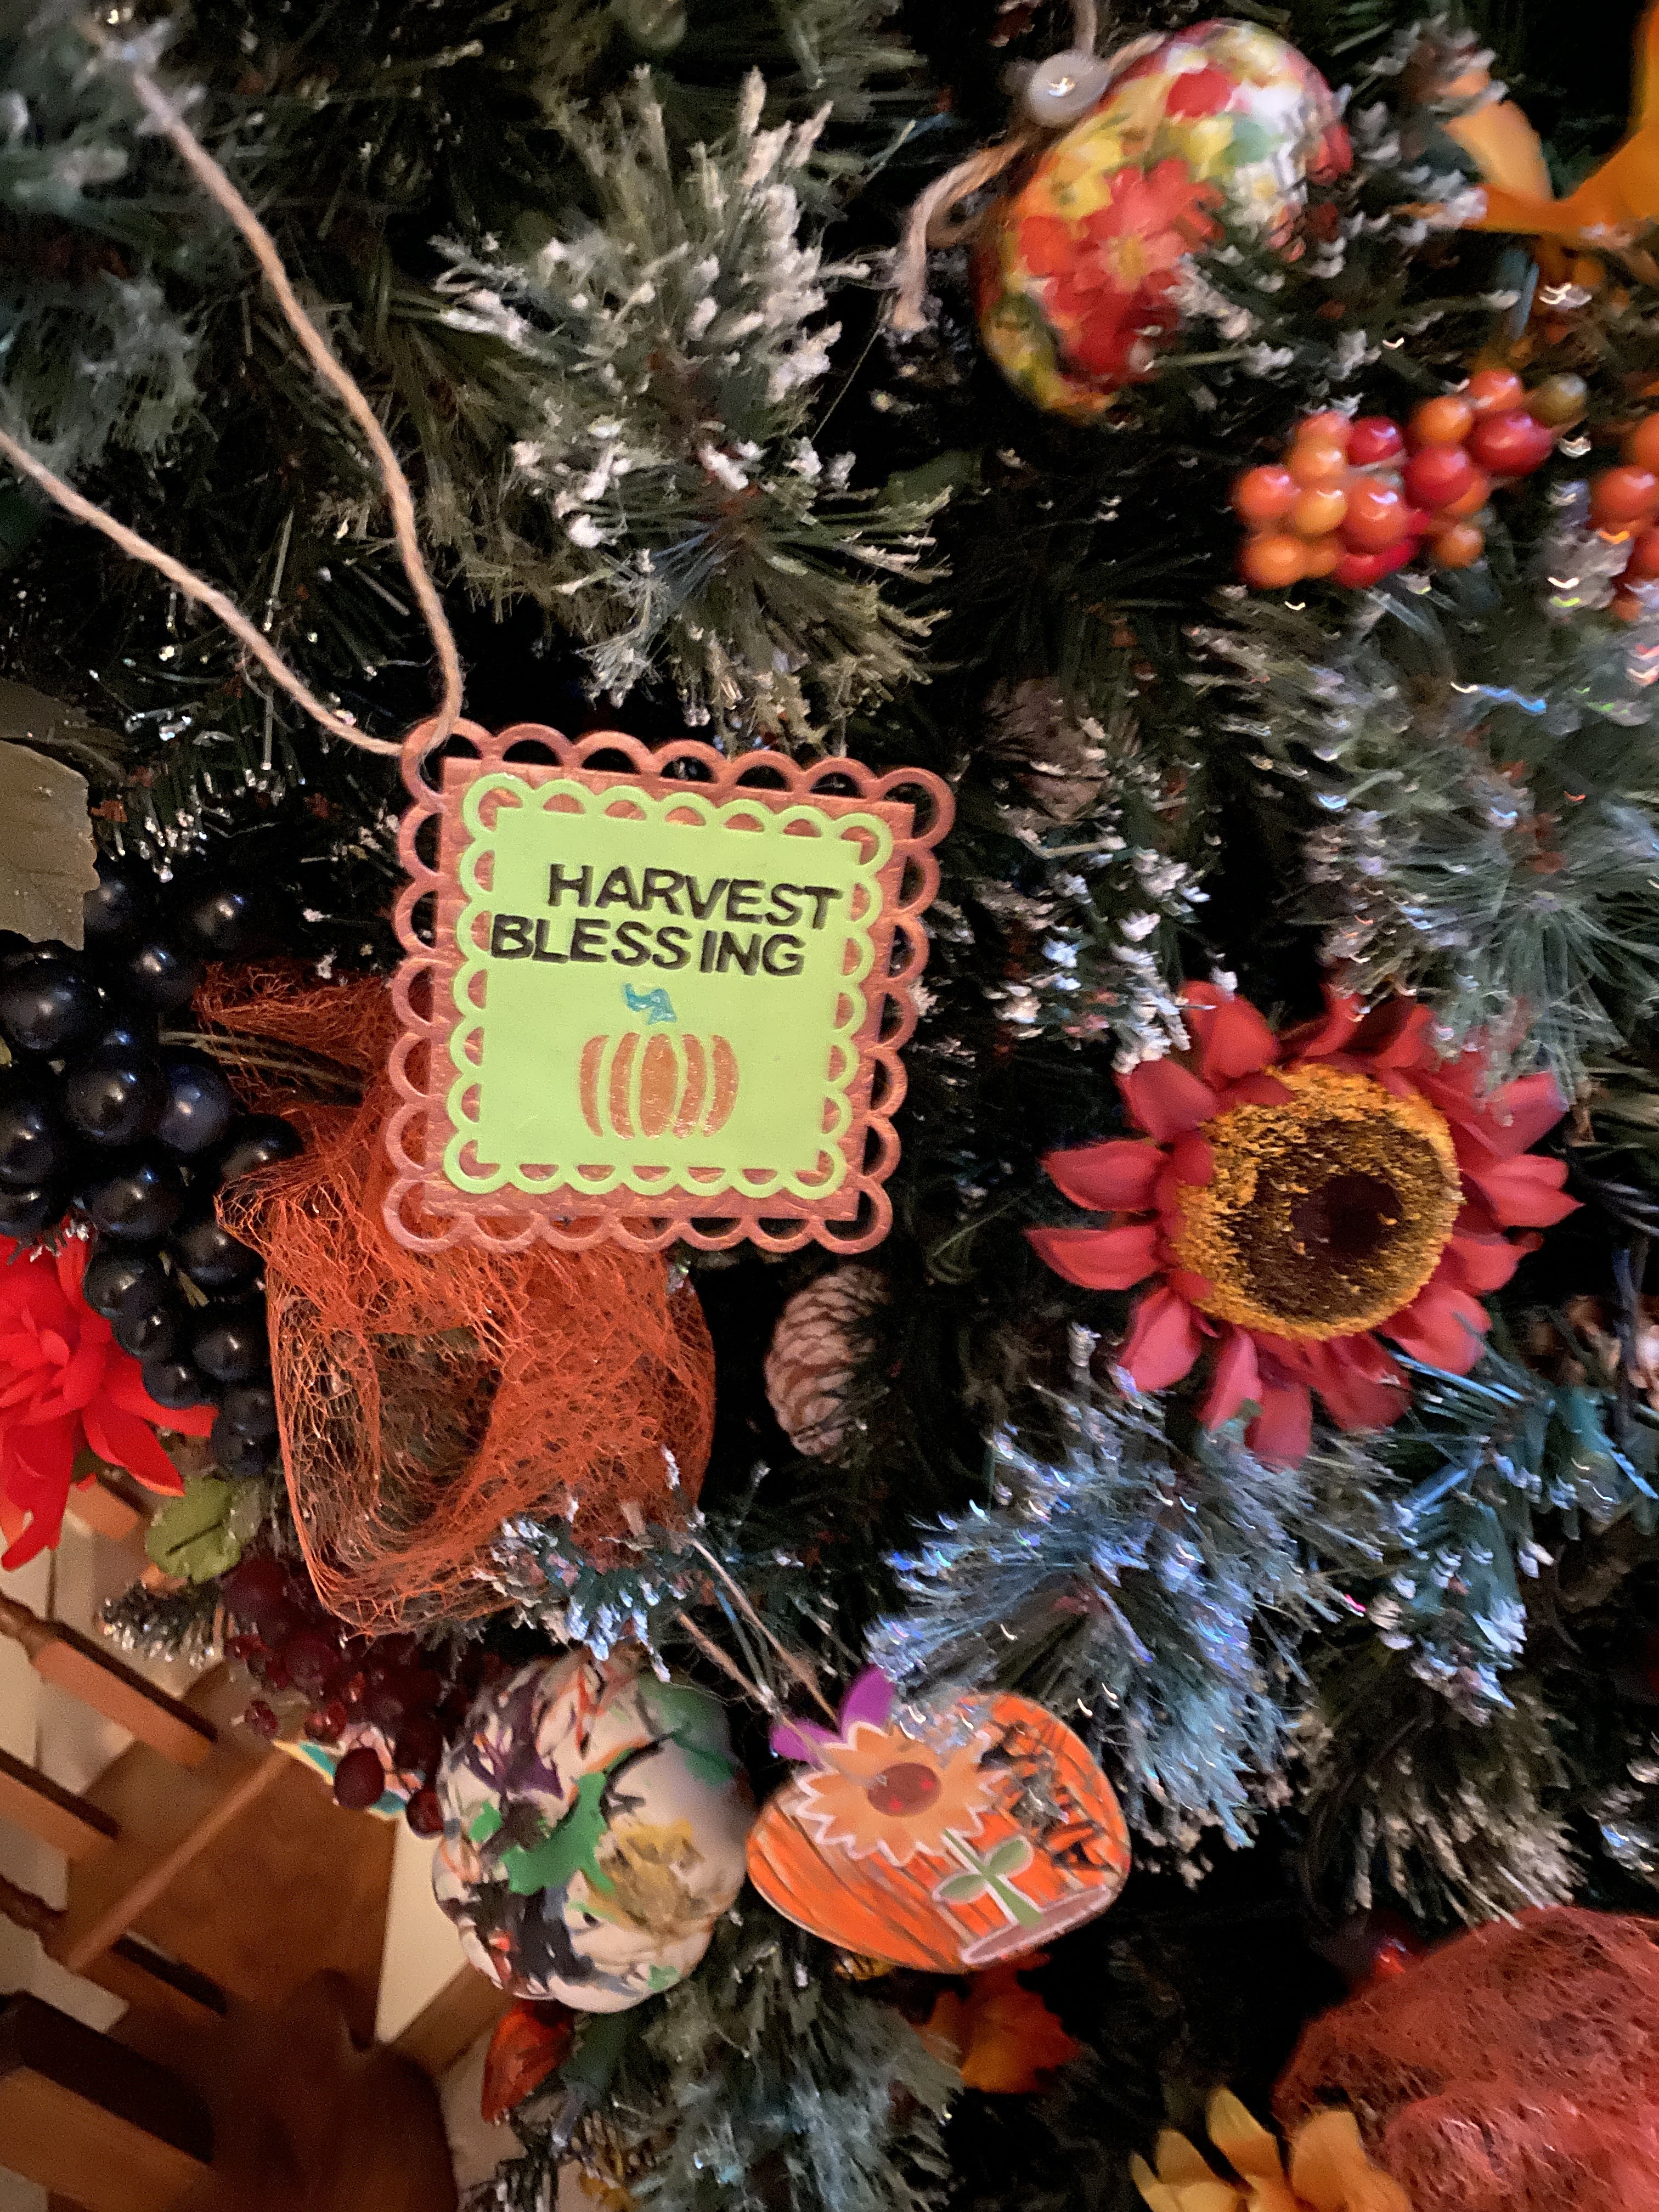
I Made A Christmas Ornament and I Love It
The Memory Ornament
I really love this ornament that I made. I mostly love it because it means something to me.
Somebody sent us a Christmas card. I've held on to it for a very long time. I decided to make Christmas ornaments with the cards I've been holding onto for over 10 years, some over 15 yrs, some over 30 yrs. Some may be in our tree and others in a wreath.
Front

Back
Here on the back of the ornament. I glued the sentiments, and what the sender
wrote to us in the card.
I covered their name here for this post. I wanted to be sure not to
upset anyone by posting their name here.

Supplies Needed To Make 10 Ornaments
1. 10 Old Christmas Cards With Pictures.
2. 10 Round Black Lids That Are 4 and 6/8th Wide. (Recycled)
3. Green Wire 11in. 10X
4. 14 and 1/2 in. Jute Rope Cuts 10X
5. 10 bells 6/8 in Large bells.
6. 10 6-inch Wide - Round - Doilies doilies
7. Clear Glue All From Elmers
8. Hot Glue
9. Foam Poster Board
Tools Needed
1. Pen
2. Ruler
3. Scissors
4. Glue Gun
5. Dremel or Drill - to drill hole
6. Jig Saw - Optional
7. Brown Buttons - I decided to add buttons to
match the other ornaments.

This wire looks kind of like twisty ties.

I used foam board to make this project.
I used the lid to outline the circles onto
the foam board and cut the majority of the circles out
with the jigsaw. Then I finished fitting them by trimming them with scissors
so they would fit inside the lid. I used the lid to also outline
the picture on the Christmas Card. Then I cut the picture out.
I used the Dremel, as a drill and made a small hole in the bottom side of
the plastic lid. It took only a second or two to drill through.
Then I threaded the wire into the hole with both ends evenly and twisted it inside the
lid. I opened the ends like you do a brad. Then used hot glue on top of the wire ends.
Then I applied hot glue all around the lid. Then put a foam board circle inside on top of the glue.
Then again with the second foam board circle. Then glue on the Christmas picture.
Hot glue the jute rope all the way around the edges of the circle.
Now squeeze the two wires at the tiptop together and fit the bell over them and onto the handle.
Make sure the bell is facing toward the front. Push the bell to the base as far as you can,
then spread the two wires of the hanger into a tear shape opening.
Put hot glue on the back of the ornament and glue it securely onto the center of the doily. Set it to face up upon a smooth glass plate.
Cut out your sentiments, then the words that are written inside and who the card is from.
Glue them onto the back of the doily with hot glue.


This plastic lid is from a large container of Great Value Creamer

I did not use Modge Podge in this picture.
I only used hot glue and Elmer's glue.


The Pinecone Ornament:
I asked my neighbor if I could use
some of the pinecones from their pine tree to do crafts with.
I dried them out by putting them in my oven.
They did let off some strong fumes.
So I put them in the microwave but the smell
was strong.
Next time I will soak them in a vinegar soap mixture
and then let them set out for a few days to dry before I stick them into my oven.
There are bugs in pinecones and sometimes spiders.
So it's very important to clean them.
I painted the pinecones with white chalk paint just at the ends.
I put the green wire through a brown button's holes.
One end into one hole and one end through the other hole.
I had to use some pointy plyers to pull each end through.
I used the plyers to twist the ends of the wire 4 or 5 times under the button.
Then I glued that button on top of the pinecone, leaving the twisted end
hidden glue under the button.
I threaded the hanger through a large wooden bead
and hot-glued it onto the button.
I then tied some red sequins trim around the button area and
glued a button onto the center of the bow.
The Pinecone Ornament looks very nice
with the Memory Ornaments.
I enjoy them and look forward to
seeing them on our Christmas tree.
Susan Nikitenko November 10th, 2022 ©
Monday, November 7, 2022
Fall First Times
I dried flowers for the first time and displayed an arrangement in
shadow boxes I purchased. My husband even liked them.
I have enjoyed displaying these for our harvest party and our Thanksgiving decorations.


We decorated a Fall tree for the first time this year. Our grandchildren helped with decorations they made in art class and they also helped decorate the tree. The theme, of course, is giving thanks to God.


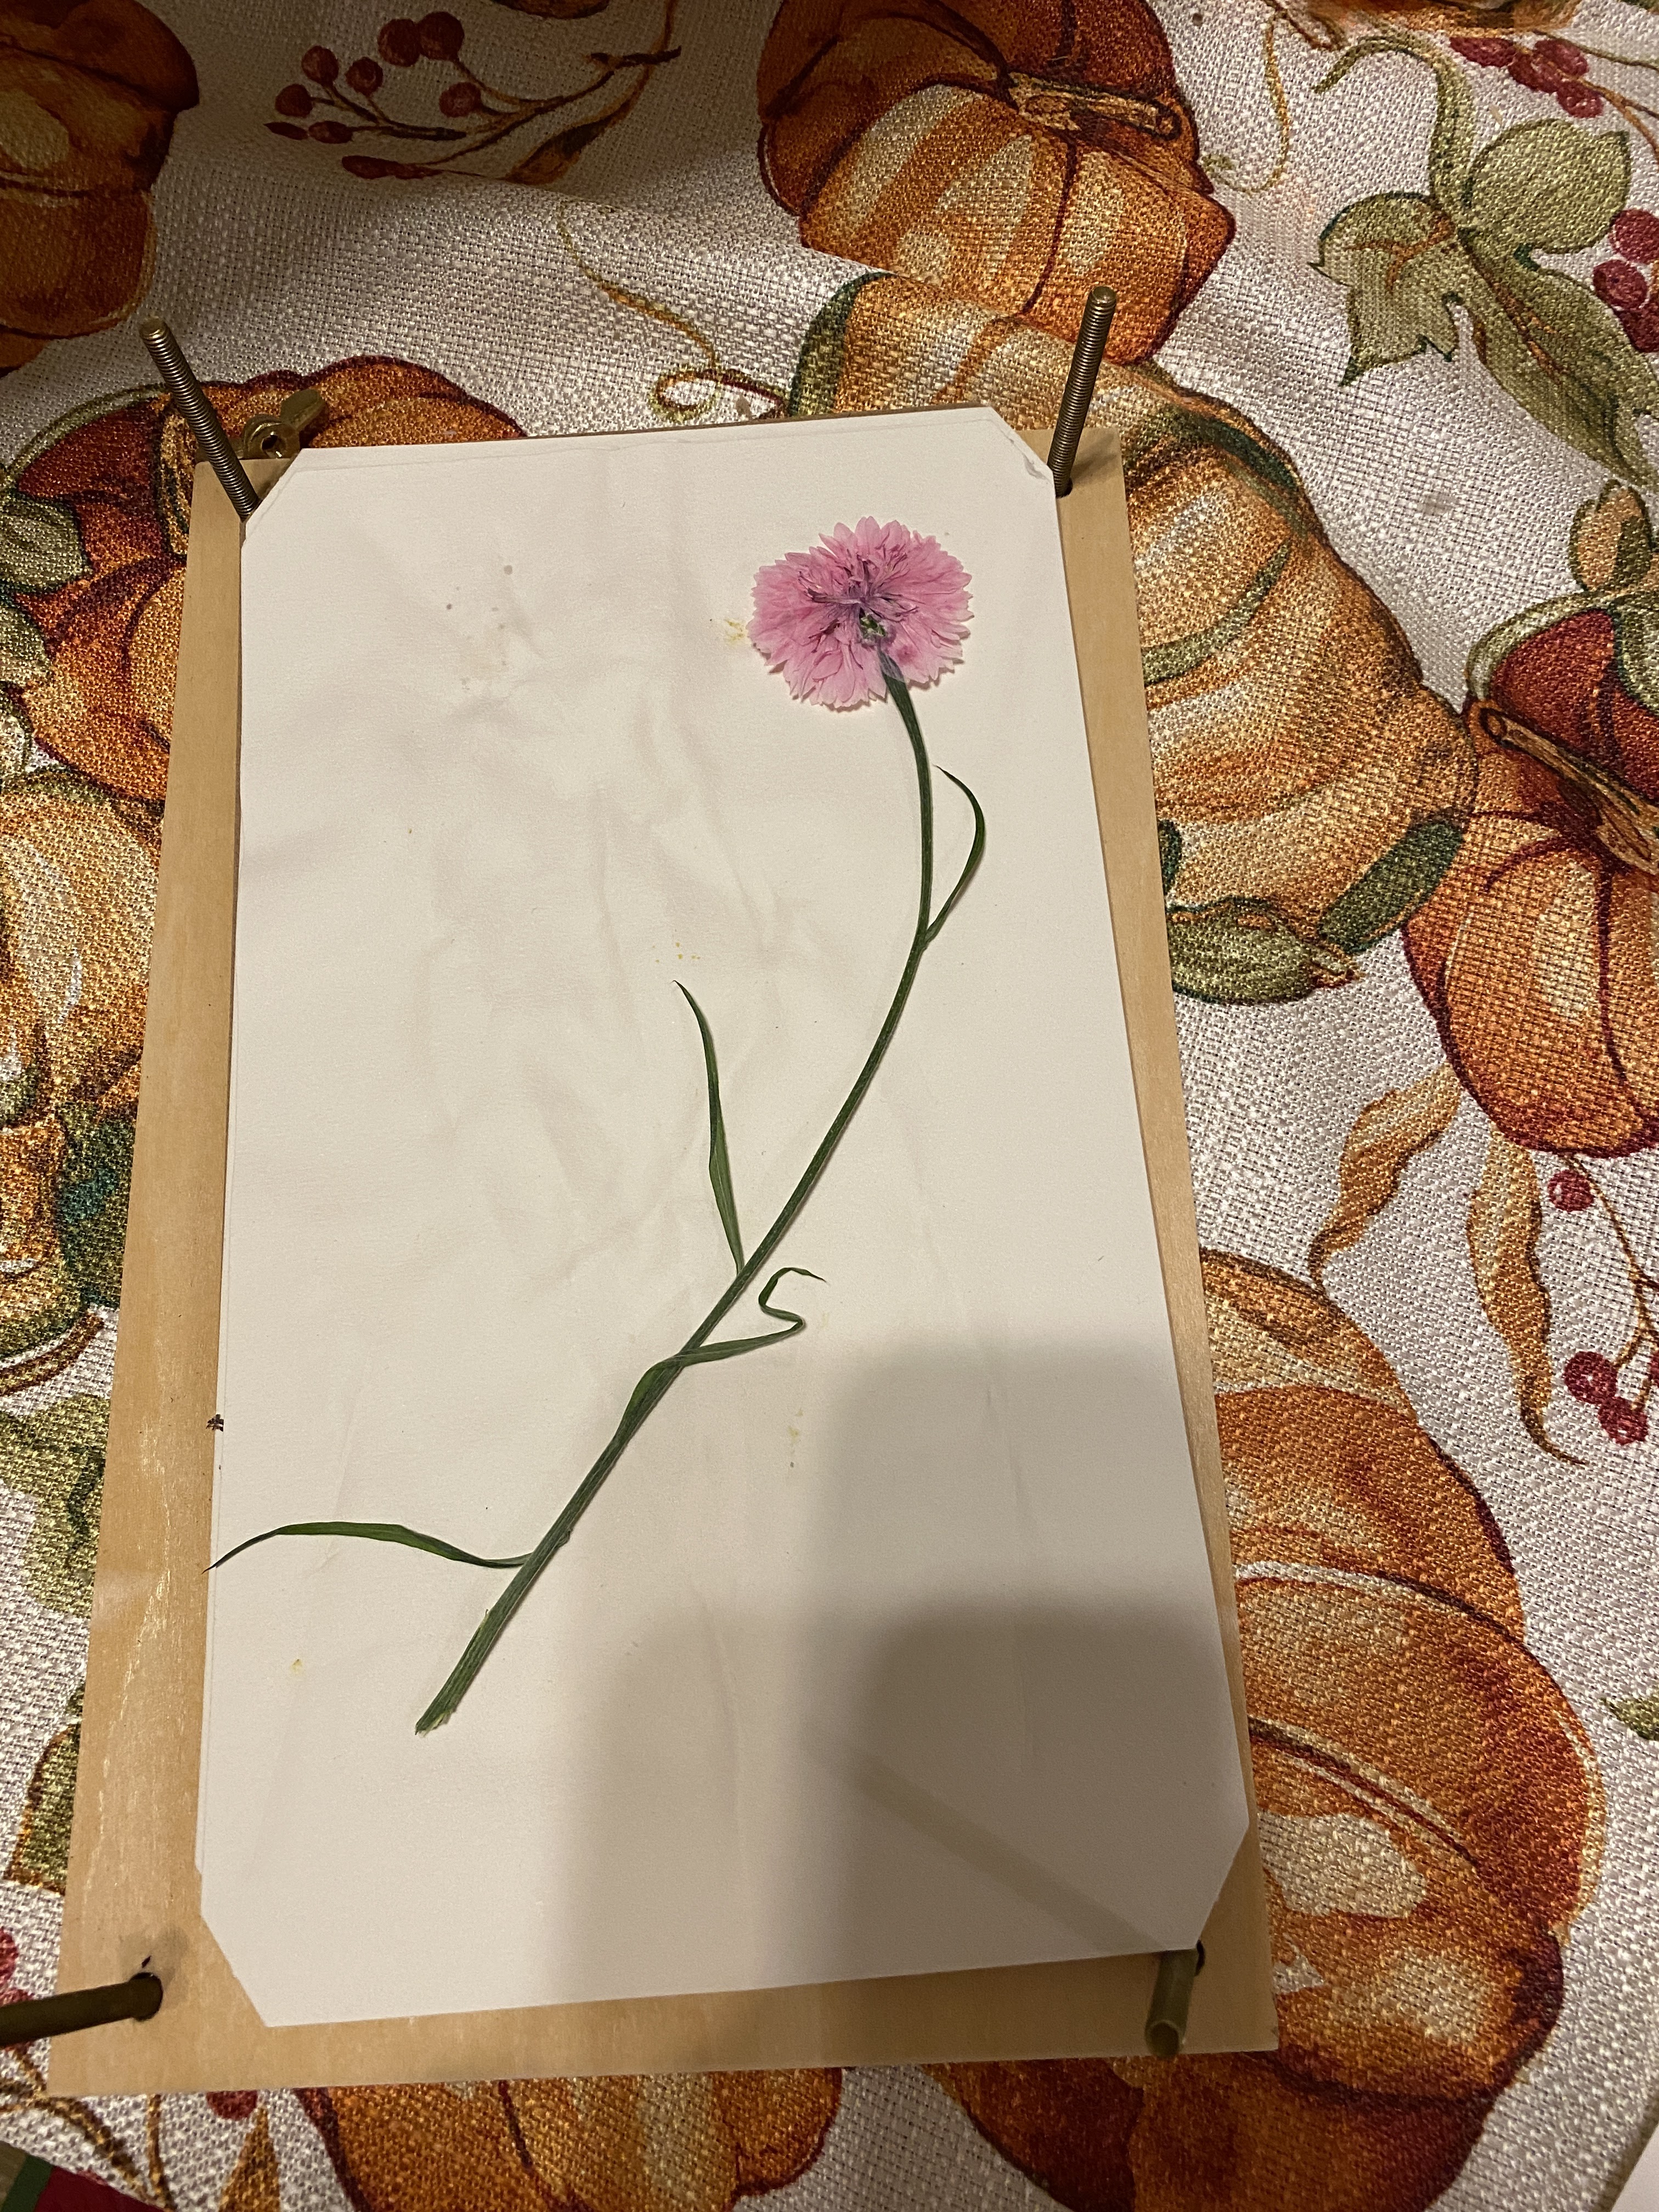
For the first time, I pressed flowers from my garden. Which God used
in an unusual way. I will share that story on our Children's Blog. But I will share some of the pictures here.


For the first time, we had a dress-up Harvest party.
So much fun! In this picture - Anna is dressed up like an acorn,
and Ben is dressed up like Bible man.
I'm a cheerleader and Papa is a football player.

Susan Nikitenko Photos ©
Saturday, October 22, 2022

Monday, May 2, 2022
I Completed This Chrochet Blanket This Afternoon - Spring 2022
Colorful Spring Afghan Blanket - March 2nd


It reminds me of daffodils.
Friday, April 22, 2022
Spring Colorful Blanket - Still Working On This April 22nd


Susan Nikitenko Phone Pictures
It's taking longer than I thought.
I think it's going to be very pretty.
Wednesday, April 6, 2022
This Is What I'm Working On : Colorful Crochet Blanket For Easter
Colorful Blanket For Easter


One Skien Of Yarn Does Not Finish One End.
2 2/3 Skeins Of Yarn To Finish Each End.
3 to 5 days longer until I'm finished with this crochet blanket.
Tuesday, February 22, 2022
Fancy Pink Wide Edge Crochet Lap Blanket
Finished Lap Blanket

Fancy Pink Wide Edge Crochet Lap Blanket
--------------------------------------------------
-Pinky Toes Metalic Yarn; 8 skeins.
- Caron Simply Soft Bright Pink -1 skein
- Double Threads
- P Crochet Hook
- Yarn Needle
Blanket:
Chain 75 -
Double Cr and Half Double Crochet throughout.
Going through the two top stands of each stitch.
36 Rows. Turning for every new row.
Border:
3 Tripple Cr, Chain 2 all the way around.
slip stitch closed. Fill each space making sure there are no wide gaps.
To make this addition to your wide border - start at the beginning bar
attach and chain 4 then attach to the next bar. Do this all the way around
until you complete the double-layer border.
Earlier Photos

Above: Notice that there is another row just behind your edging.
To make this addition to your wide border - start at the beginning bar
attach and chain 4 then attach to the next bar. Do this all the way around
until you complete the double-layer border.

If you look very closely you will see a line of stitches that adds texture to the blanket.
Plan ahead the distance between each line. Then you can determine how far apart to make your bright pink lines. Attach to the beginning under two threads, chain 4 then attach to the next two threads. Do this all the way across the length of the lap blanket. Cut your thread and close the stitch leave a string to weave in. Go back to the beginning and attach again. Spacing as you have planned to keep the rows evenly apart. I made seven rows.


2nd post

3rd Update


Finished - Yay!
Make all your flowers. Spread your blanket across your table or the floor.
Put your flowers in the order you want them. Sew each one on and put a little bit of glue onto the center of each flower. Let it dry. Weave in all your strings. Weave it in by making two or three turns. it makes it harder to come loose.
Dries Clear


16 Flowers
You can arrange
your flowers like mine or
you can arrange them differently.
I made the flowers on this.
Subscribe to:
Comments (Atom)
Featured Post
Grandmas Blankets - Fall Lap Quilt Tote
I made this crochet tote to carry and deliver a lap quilt in. It is being delivered to a man with liver cancer. The quilt is inside ...

-
Favorite Ric Rac Tutorials… : ric rac rosettes from the crafting chicks ric rac flowers from craftiness is not optional ric rac ro...
-
 a creative and meaningful way to illustrate such an important lesson. Draw a half-heart onto 8.5X11 cardstock and cut it out. beautifull...
 -
 Use These With Your Grocery Adds Staple Them Together Page 1 Page 2 Page 3 Page 4
