Showing posts with label craft. Show all posts

Wednesday, February 19, 2025

Porcelain Sized and Fitted


Print Only


Print Only
In Victorian times, artisans were skilled at creating beautiful pieces by combining different materials, including porcelain and wood. They used techniques such as **marquetry** and **inlay** to fit porcelain pieces seamlessly onto wooden surfaces. These methods allowed them to create intricate and decorative designs that were both functional and aesthetically pleasing

Yes, it is possible for Victorian artisans to create intricate inlaid designs that resemble portrait drawings. This technique is known as **marquetry** or **inlay work**, and it involves carefully cutting and fitting different materials (such as wood, porcelain, metal, or even ivory) into a base surface to create detailed images and patterns.

In the Victorian era, craftsmen were highly skilled in marquetry and inlay work. They often used these techniques to create stunning decorative pieces, including furniture, boxes, and chests, with elaborate designs that could feature portraits, floral motifs, and intricate geometric patterns.

Here's a brief overview of how this process works:

1. Design: A detailed design is created, often inspired by portraits, nature, or geometric patterns.

2. Materials: Different materials (wood veneers, porcelain pieces, metal, etc.) are selected to match the design.

3. Cutting: The materials are carefully cut into precise shapes that fit together like a puzzle.

4. Fitting: The cut pieces are meticulously fitted into the base surface, often using glue or other adhesives.

5. Finishing: The surface is sanded, polished, and sometimes varnished to create a smooth, unified appearance.

The result is a beautifully detailed and visually striking piece that showcases the artisan's skill and creativity.

If you're interested in seeing examples of marquetry or inlaid artwork, you can find many stunning pieces in museums, antique shops, and online galleries.

Word of the Day

 "aesthetically" is pronounced as /es-ˈthe-ti-k(ə-)lē/. Here’s how it breaks down:

- "es" as in "best"

- "the" as in "thee"

- "ti" as in "tic"

- "ka" as in "ca"

- "lē" as in "lee"

 Meaning

"Aesthetically" is an adverb that means in a way that gives pleasure through beauty. It relates to the appreciation of beauty or good taste.

 Example Sentences

- The room was decorated aesthetically, with soft lighting and elegant furniture.

- She chose her outfit aesthetically, considering both color and style.

- The designer arranged the flowers aesthetically, creating a stunning centerpiece.


Tuesday, February 18, 2025

What Cool Bear Purses and Bag

 Pictures For the Creative Play by Ear Crafter


devotion 4 paragraphs down

Just Some Ways to Inspire

While these suggestions may not provide the exact purse you have in mind, they can certainly inspire and guide you toward creating something equally as beautiful. Sometimes, the adventure of crafting is all about experimenting and adapting ideas to make something uniquely your own. Remember, every stitch and step will bring you closer to your vision. Happy crafting, and may your creative flare flourish.

Here are some places where you can find pre-quilted fabric:

1. Fabric Warehouse: They offer a wide variety of pre-quilted fabrics, including double-sided quilted fabric by the yard. You can browse their collection online or visit their store for more options.

2. Amazon: Amazon has a large selection of pre-quilted fabrics in various patterns and colors. You can find options for different projects, including making purses.

3. JOANN: JOANN offers a range of precut and pre-quilted fabrics. They have various holiday themes, quilting fabrics, and fabric bundles that can be used for bags and other accessories.

These stores should have plenty of options to inspire your next crafting project. 


Time to focus on bear-making projects and include purse patterns. Here are a few recommendations:


1. "Bear Making 101: Techniques and Patterns for Creating Bears" by Jan Horne" - This book covers various bear-making techniques and includes patterns that can be adapted for making bear purses.

2. "The Beginner's Book of Bear Making Patterns" by Various Authors" - This book offers a collection of bear-making patterns, some of which can be used to create adorable bear purses.

3. "Making Handbags & Purses: 50 Patterns & Designs from Casual to Corporate" by Carol Parks** - While not exclusively about bears, this book provides a variety of purse patterns that can be customized with bear-themed embellishments.

4. "Sewing for Beginners: Handbags and Accessories" by Lorna Knight - This beginner-friendly book includes instructions and patterns for making handbags, which can be adapted to create bear purses.


Here are some books that can provide inspiration and ideas for making purses, including bear-themed ones:

1. "The Complete Bag Making Masterclass: A Comprehensive Guide to Modern Bag Making Techniques" by Samantha Hussey - This book covers a wide range of bag-making techniques and includes full-size patterns for various bag projects.

2. "The Better Bag Maker: An Illustrated Handbook of Handbag Design • Techniques, Tips, and Tricks" by Nicole Mallalieu** - This book offers high-end techniques and secrets for professional design and finishes.

3. "Making Handbags & Purses: 50 Patterns & Designs from Casual to Corporate" by Carol Parks- This book provides 50 different patterns and designs, ranging from casual to corporate styles.

4. "Sewing for Beginners: Handbags and Accessories" by Lorna Knight** - A great starting point for beginners, this book offers easy-to-follow instructions and patterns for making various handbags and accessories.

5. "Bag Making Bible: The Complete Guide to Creating Beautiful Handbags, Totes, and More" by Emma Hardy** - This comprehensive guide includes detailed instructions and patterns for creating a variety of bags.

These books should provide plenty of inspiration and practical advice. 


Devotional: The Divine Craftsmanship
Devotion:

In the quietness, In the moments of creation, when we sit down with our tools and materials, we are reminded of the divine craftsmanship that shapes our lives. Just as we craft with love and patience, God is continuously crafting our hearts, minds, and spirits.

Mark 10:27 (KJV 1611)

"And Jesus looking upon them saith, with men it is impossible, but not with God: for with God all things are possible." 

As we immerse ourselves in the art of crafting, let us remember that our creativity is a reflection of God's infinite creativity. Every stitch, every brushstroke, and every piece of fabric we cut is a testament to our unique talents bestowed upon us by our Creator. 

In times when our projects seem challenging or when we feel stuck, we can take solace in knowing that with God, all things are possible. Our limitations are but opportunities for God's limitless power to shine through us. 

When we encounter imperfections in our work, let it remind us that we too are works in progress, beautifully crafted by the hands of Almighty God. Each challenge we face is an opportunity for growth, and for learning to lean on God's strength and help

Something To Think About:

As you craft today, take a moment to thank God for the gifts He has given you. Reflect on the ways He has enabled you to create and bring beauty into the world. Remember that in both your crafting and your life, no challenge is too great when you trust in Him.

May thier hands be guided by your grace, and may their hearts be filled with your boundless possibilities.
Be with each person today that stops by blessed 

I hope this devotional brings you encouragement and inspiration in your crafting experience. 


Videos

There are several instructional videos and tutorials available online that can guide you in making a bear purse or something comparable. Here are a few examples:


1. How to Crochet a Bear Bag: This video provides a step-by-step tutorial on crocheting a cute bear bag. It covers the materials needed and detailed instructions on how to crochet the bear face and body.

2. Teddy Bear Cross Body Bag Tutorial: This video offers a full step-by-step tutorial on making a sweet cross-body bear bag. It includes a free pattern and detailed instructions on assembling the bag.

3. How to Sew a Memory Bear: While this video focuses on making a memory bear, it provides useful tips on cutting, interfacing, and sewing different parts of the bear, which can be adapted for making a bear purse.

4. How to Make a Purse Out of a Teddy Bear: This easy DIY video shows how to make a purse out of a teddy bear without sewing. It's a great option if you're looking for a no-sew project.

These Above tutorials should give you a good starting point and inspiration for creating your own bear purse. Happy crafting! 


Yes, you can definitely use pre-quilted fabric to make your bear purse! Using pre-quilted fabric can add an extra layer of texture and sturdiness to your creation. Here's how you can incorporate pre-quilted fabric into the steps:


How to Make a Bear Purse with Pre-Quilted Fabric

Ideas for Supplies  

Materials Needed:
1. pre-quilted fabric (brown or your desired color)
2. Lining fabric (soft cotton or polyester)
3. Zipper (matching the fabric color)
4. Felt pieces (black, white, and pink for facial features)
5. Polyester filling (for a plush look)
6. Sewing machine (or needle and thread)
7. Fabric glue or hot glue gun
8. Scissors and pins
9. Wooden half-round purse handle
10.Kiss lock clasp

Steps:

1. Design and Cut
   - Sketch the bear's face and ears on paper to use as a template.
   - Cut two identical bear face shapes from the pre-quilted fabric. Also, cut two ear shapes.
   - Cut the same shapes from the lining fabric.

2. Assemble the Ears
   - Sew the ear pieces together, leaving the bottom part open. Turn them inside out and stuff lightly with polyester filling.

3. Create the Bear Face:
   - Sew the two bear face shapes together (right sides facing each other), leaving a small gap for turning inside out. Turn the fabric inside out and stuff lightly.
   - Attach the ears to the top of the bear head, either by sewing or using fabric glue.

4. Attach the Facial Features
   - Cut out eyes, nose, and mouth shapes from the felt pieces.
   - Use fabric glue to attach the features onto the bear face, creating an adorable expression.

5. Form the Purse Body
   - Cut two rectangular pieces from the pre-quilted and lining fabric for the purse's body.
   - Sew the pre-quilted and lining fabric pieces together along the edges, leaving the top open.

6. Attach the Bear Face
   - Sew or glue the bear face onto the front side of the purse body.

7. Add the Wooden Half-Round Handle
   - Place the wooden half-round handle around the opening of the purse.
   - Sew the fabric of the purse around the wood ring, securing it in place. You can use fabric glue for additional support if needed.

8. Attach the Kiss Lock Clasp
   - Align the top edge of the purse opening with the clasp.
   - Use a strong needle and thread to sew the fabric to the clasp. If the clasp has holes, sew through them, ensuring the fabric is securely attached.
   - Alternatively, you can use fabric glue for additional security, but stitching is recommended for durability.

9. Final Assembly
   - Ensure that the clasp and handle are securely attached and that the purse opens and closes smoothly.

Using pre-quilted fabric can give your bear purse a delightful and cozy feel while adding a unique texture. Enjoy your crafting! 


Here are some online resources where you can find patterns that include a kiss lock clasp:

Take a Look at These Examples


1. Etsy: There are several crochet and sewing patterns available for coin purses and small bags that feature a kiss lock clasp. You can find options like the [Crochet Coin Purse Pattern](https://www.etsy.com/listing/543722505/crochet-coin-purse-pattern-kiss-lock) and the [Instant Download Crochet Pattern](https://www.etsy.com/listing/504587898/crochet-pattern-coin-purse-instant).

2. YouTube: There are instructional videos that guide you through making purses with a kiss lock clasp. Check out this [DIY Kiss Lock Purse Tutorial](https://www.youtube.com/watch?v=KFUI6P7l4UY) and this [Beginners Step-by-Step Kiss Lock Clasp Purse](https://www.youtube.com/watch?v=hx2HN9W0VXM).


3. Sewspire: This YouTube channel offers a tutorial on designing and sewing a kiss lock purse or clutch. You can watch the video [here](https://www.youtube.com/watch?v=jma-h9lgiRU).

These resources should help you find the perfect pattern and guide you through the process of making a beautiful purse with a kiss lock clasp. Happy crafting! 

There are several bear-themed purses available online that might be similar to the one you're envisioning. Here are a few options:

1. Amazon: They have a variety of bear purses, including crossbody bags, shoulder bags, and even crystal clutch purses. You can find options like the Teddy Bear, Purse and the Boutique, De FGG Bear, Evening Bag

2. Etsy: This platform offers a wide range of handmade and unique bear purses. You can find items like the **Cute Bear Bag**, **Bear Coin Purse**, and **Moon Gaze Bear Purse**.

3. Fashion Retailers: Websites like **Amazon** also offer bear-themed purses with different styles and designs, such as the **Fashion Retro Bear Badge Print Purse** and the **Boutique De FGG Bear Crystal Clutch Purse**.

These options should give you a good starting point to find a purse that matches your vision. 


Wednesday, November 9, 2022

I Made A Christmas Ornament and I Love It

 The Memory Ornament 

I really love this ornament that I made.  I mostly love it because it means something to me.
Somebody sent us a Christmas card.   I've held on to it for a very long time.  I decided to make Christmas ornaments with the cards I've been holding onto for over 10 years, some over 15 yrs, some over 30 yrs.  Some may be in our tree and others in a wreath.  
  
Front


Back

Here on the back of the ornament.  I glued the sentiments, and what the sender 
wrote to us in the card. 
I covered their name here for this post.  I wanted to be sure not to
upset anyone by posting their name here.


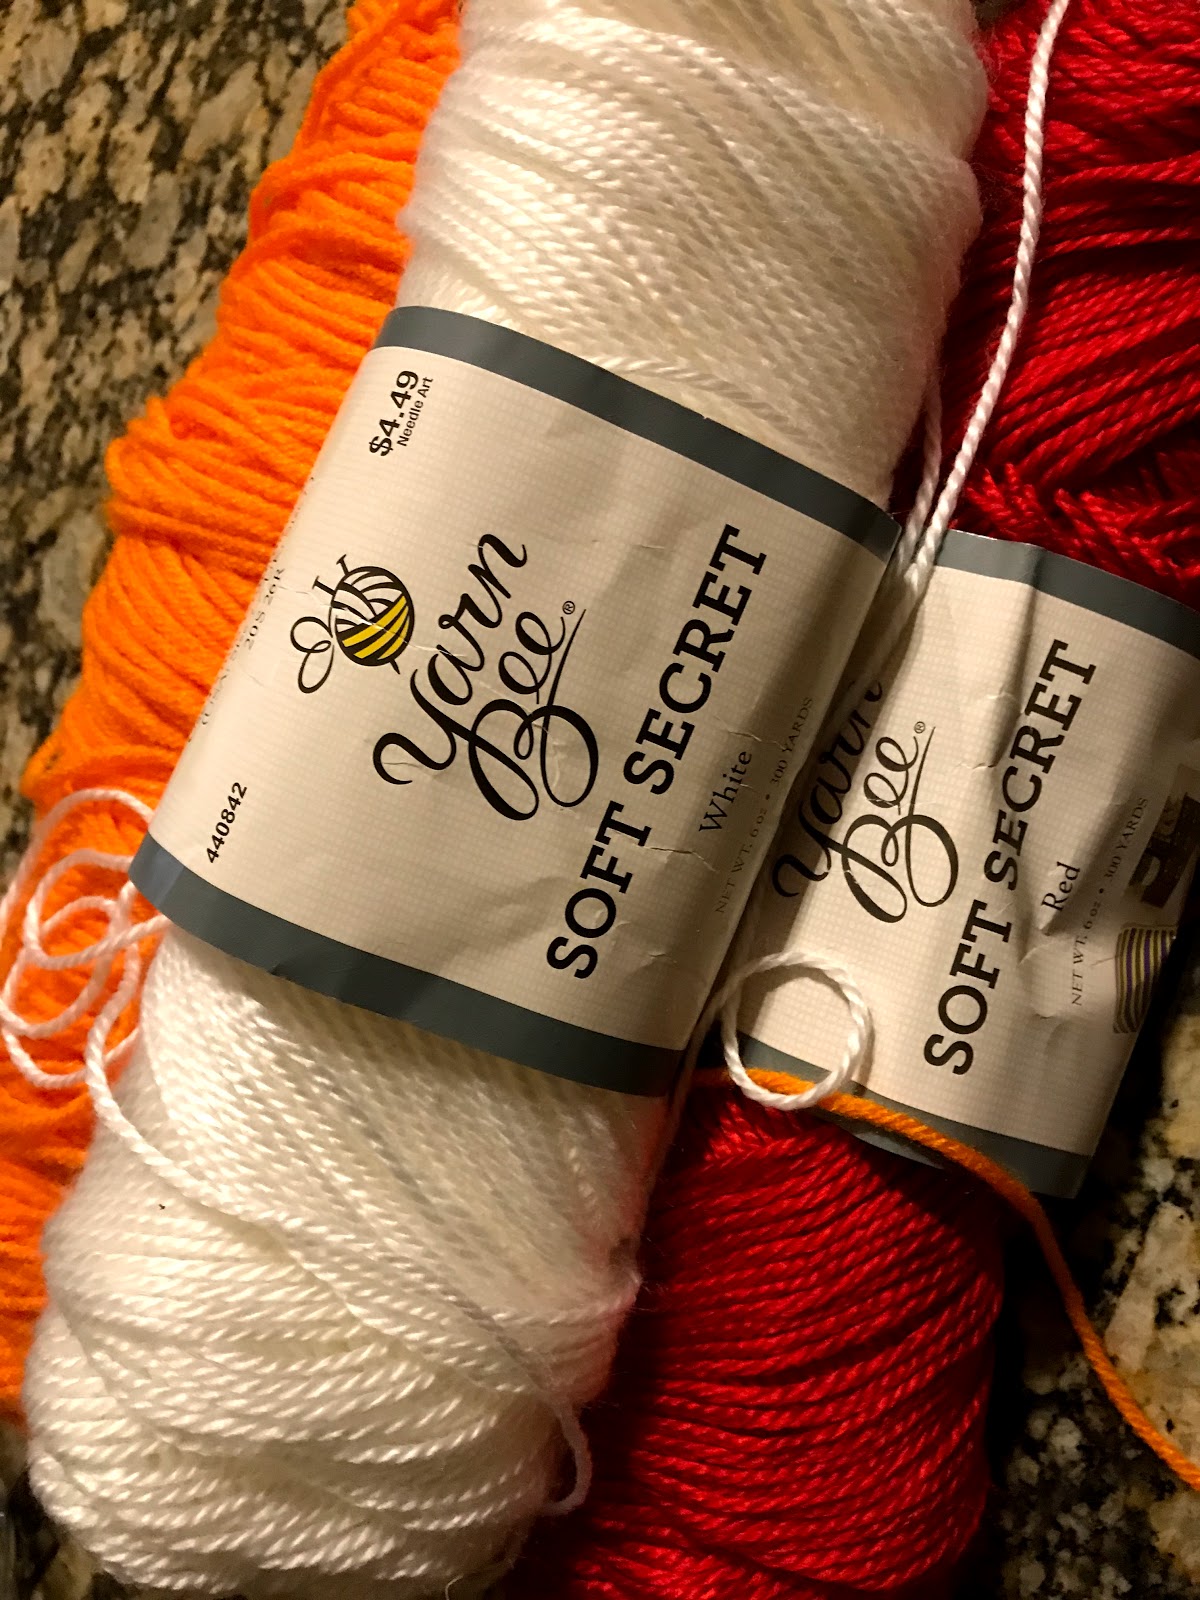
Supplies Needed To Make 10 Ornaments

1. 10 Old Christmas Cards With Pictures.
2. 10 Round Black Lids That Are 4 and 6/8th Wide.  (Recycled)
3. Green Wire 11in. 10X 
4. 14 and 1/2 in.  Jute Rope Cuts   10X
5.  10 bells  6/8 in Large bells.
6.  10 6-inch Wide - Round - Doilies  doilies
7.  Clear Glue All From Elmers
8. Hot Glue 
9. Foam Poster Board

Tools Needed

1. Pen
2. Ruler
3. Scissors
4. Glue Gun
5. Dremel or Drill - to drill hole
6. Jig Saw - Optional 
7. Brown Buttons - I decided to add buttons to 
match the other ornaments.


This wire looks kind of like twisty ties.


I used foam board to make this project.
I used the lid to outline the circles onto 
the foam board and cut the majority of the circles out
with the jigsaw.  Then I finished fitting them by trimming them with scissors 
so they would fit inside the lid.  I used the lid to also outline
 the picture on the Christmas Card.  Then I cut the picture out.

I used the Dremel, as a drill and made a small hole in the bottom side of 
the plastic lid.  It took only a second or two to drill through.  
Then I threaded the wire into the hole with both ends evenly and twisted it inside the 
lid.    I opened the ends like you do a brad.  Then used hot glue on top of the wire ends.
Then I applied hot glue all around the lid. Then put a foam board circle inside on top of the glue.
Then again with the second foam board circle.  Then glue on the Christmas picture.
Hot glue the jute rope all the way around the edges of the circle.
Now squeeze the two wires at the tiptop together and fit the bell over them and onto the handle.
Make sure the bell is facing toward the front.  Push the bell to the base as far as you can,
then spread the two wires of the hanger into a tear shape opening.

Put hot glue on the back of the ornament and glue it securely onto the center of the doily. Set it to face up upon a smooth glass plate. 
Cut out your sentiments, then the words that are written inside and who the card is from.
Glue them onto the back of the doily with hot glue.


This plastic lid is from a large container of Great Value Creamer


I did not use Modge Podge in this picture.
I only used hot glue and Elmer's glue.


The Pinecone Ornament:

I asked my neighbor if I could use 
some of the pinecones from their pine tree to do crafts with.
I dried them out by putting them in my oven.
They did let off some strong fumes.
So I put them in the microwave but the smell
was strong. 

Next time I will soak them in a vinegar soap mixture
and then let them set out for a few days to dry before I stick them into my oven.
There are bugs in pinecones and sometimes spiders.  
So it's very important to clean them.

I painted the pinecones with white chalk paint just at the ends.
 
I put the green wire through a brown button's holes. 
One end into one hole and one end through the other hole.  
I had to use some pointy plyers to pull each end through.
I used the plyers to twist the ends of the wire 4 or 5 times under the button.
Then I glued that button on top of the pinecone, leaving the twisted end
hidden glue under the button.  
I threaded the hanger through a large wooden bead
and hot-glued it onto the button.
 I then tied some red sequins trim around the button area and
 glued a button onto the center of the bow.

The Pinecone Ornament looks very nice
with the Memory Ornaments. 
I enjoy them and look forward to
seeing them on our  Christmas tree.


Susan Nikitenko November 10th, 2022 ©


Thursday, November 21, 2019

Recycling Idea For End To End Crochet

New Idea - Recycling Idea For End To End Crochet 

I had this idea for end to end crochet projects.
I used these large creamer containers I collected because
they have an opening in the lids already.
6 of them fit perfectly in a basket from Dollar Tree. 
I cut openings in the containers.  I used a handheld saw to 
make a small slit and then used my electric scissors.
I made a small pattern to trace the shape I wanted to cut.
That way the openings are approximately the same size.
As you can see the yarn will not roll out because
it is trapped inside by the walls of the basket.
This keeps the yarn from becoming tangled up.
This recycling Idea will save time and money.

Now I'm going to paint the canisters to match the basket.
I'll be back with the picture when it is completed.  


Tuesday, February 13, 2018

Small Chair Throw


Carnon Yarn  Size I Hook - Simply Soft Yarn


A very simple small throw for the back of my chair with a small heart attached ...or a table center doily. 

I'll put the instructions later today...hopefully

 1 John 2:5 But whoso keepeth his word, in him verily is the love of God perfected: hereby know we that we are in him.
 1John 4:7 ¶ Beloved, let us love one another: for love is of God; and every one that loveth is born of God, and knoweth God.
 1 John 5:3 For this is the love of God, that we keep his commandments: and his commandments are not grievous.

Wednesday, February 7, 2018

Crochet Heart Towel Ties


Crochet Heart Towel Ties


Using Size I Hook

Start with a magic ring.  1st row:  Connecting the stitch then sc chain 1 sc 12xs.  Pull your magic ring together then sl st closed. 2 row:  Chain 2 then sc over 1st row 14xs. Pull magic ring tight then sl st to connect the row.  Now you should have a bulky ring.  
3 row:sc 1 into next stitch. 2 hdc, 2 dc, 2hdc, 1 sc, 1 sc into the next st, sc into the next 4 chains. sl st into next st then dc, chain 2, then sl st into bottom of the same st. Then start up the others side to the next chain and sc, sc into the next 4 stitches slip stitch into the next chain.  Cut off the yarn leaving at least 4 inches of yarn connected.  Take your tapestry needle and matching thread and stitch upward through the next sc and then again weave yarn towards the center of the heart pulling it out at the center beside the other loose end.   Something I Forgot To Tell You....Using your tapestry needle pull your magic ring thread to the front of your work then pull up over the center tightly then weave it
until the yarn is hidden.  Make sure all loose ends are weaved and hidden.

Using Size N Hook

Now take three matching colors of yarn and chain them together then crochet 27 stiches  leaving about 4 or 5 inches of loose strings on each side.  Tie one around your towel while it is hanging up to fit it then tie a knot.
Now that it is sized, remove the knotted tie and use it as an example where to tie your other ties.
Hand sew each heart (with regular needle and matching thread) to the knot of each tie.

Then place your finished work onto your towels by bunching the bottom portion of the towel into your hand and fitting the tie over the bunch and lifting it up to the place it needs to be in order to look neat.


Susan Nikitenko


Exodus 8:1-15
And the LORD spake unto Moses, Go unto Pharaoh, and say unto him, Thus saith the LORD, Let my people go, that they may serve me.
 And if thou refuse to let them go, behold, I will smite all thy borders with frogs:
 And the river shall bring forth frogs abundantly, which shall go up and come into thine house, and into thy bedchamber, and upon thy bed, and into the house of thy servants, and upon thy people, and into thine ovens, and into thy kneadingtroughs: {kneadingtroughs: or, dough}
 And the frogs shall come up both on thee, and upon thy people, and upon all thy servants.
And the LORD spake unto Moses, Say unto Aaron, Stretch forth thine hand with thy rod over the streams, over the rivers, and over the ponds, and cause frogs to come up upon the land of Egypt.
 And Aaron stretched out his hand over the waters of Egypt; and the frogs came up, and covered the land of Egypt.
 And the magicians did so with their enchantments, and brought up frogs upon the land of Egypt.
 Then Pharaoh called for Moses and Aaron, and said, Intreat the LORD, that he may take away the frogs from me, and from my people; and I will let the people go, that they may do sacrifice unto the LORD.
 And Moses said unto Pharaoh, Glory over me: when shall I intreat for thee, and for thy servants, and for thy people, to destroy the frogs from thee and thy houses, that they may remain in the river only?  And he said, To morrow. And he said, Be it according to thy word: that thou mayest know that there is none like unto the LORD our God.  And the frogs shall depart from thee, and from thy houses, and from thy servants, and from thy people; they shall remain in the river only.
 And Moses and Aaron went out from Pharaoh: and Moses cried unto the LORD because of the frogs which he had brought against Pharaoh.
 And the LORD did according to the word of Moses; and the frogs died out of the houses, out of the villages, and out of the fields.
 And they gathered them together upon heaps: and the land stank.
 But when Pharaoh saw that there was respite, he hardened his heart, and hearkened not unto them; as the LORD had said.

Thursday, April 9, 2015

Tuesday, December 16, 2014

Twist Paper Crafts


Twist Paper Crafts


paper, twist paper, craft, doll, Christmas, angel, Mary, Joseph, caroler, rose, 


Featured Post

Grandmas Blankets - Fall Lap Quilt Tote

I made this crochet tote to carry and deliver a lap quilt in.  It is being delivered to a man with liver cancer. The quilt is inside ...